Our kitchen's breakfast nook has seen a lot of changes. Sometimes it looks like this:
Other times it looks like this:
Or this. It was just too weirdly shaped for anything to stick permanently. So I got the idea that I would tear out the pantry and build two smaller pantries on each side of this wall with a bench in the middle. Add a table, and presto, breakfast nook. I had a contractor come in and a $3,000 estimate later, I decided that was not gonna happen. He did give me the idea, though, of doing a corner bench with a table. He quoted that one for about $2,000. I said, "Thanks for the free idea!" and went about doing it myself.
So here's what I came up with...and as usual, forgive the mediocre photography...if that's even what you want to call it. The corner bench is actually three benches from
Ikea, two with drawers, one without. Since the kitchen is on the smaller side, storage was very important when
I was looking around for banquette seating. These drawers are great and huge, and when I get tired of this setup, they can be used elsewhere easily.
I made the cushions and pillows myself, following this
tutorial. As mentioned before, I was trying NOT to spend $3,000 on this project, so I was dragging my feet about buying the foam for these cushions, which would have cost at least $60 with a coupon. I looked around online a bit for alternative ideas, and I came across this great idea to use one of those egg carton foam bed cushions. I happened to have one lying around, so I cut it apart, stacked it up, and voila! Free cushions.
The light was a $25 find at the Habitat for Humanity ReStore. I also got some drawer pulls when I was there for when I get around to working on the kitchen cabinets. I made the shade in the background from some plastic blinds following this
tutorial.
I really wanted to have a dish towel on the front of the shade, and I found this one at Sur la Table for $8.
Bird.
I found the table for $65 using our neighborhood website. It was originally that circa 1995 orangey oak that everybody has. I decided to try my hand at restaining it, using this
tutorial. It worked pretty well except for a few things. 1. I decided to start staining the table in the middle of Typhoon June, so it took forever to dry. 2. It also took forever to dry because I did not do a good job of wiping off all the stain when I was staining it. There are still a few goopy spots on the legs where the stain dripped and pooled together. So I wouldn't recommend sitting on the legs in white pants for extended periods of time. If you were planning on doing that.
The rug I got for $60 off of Joss & Main, which is kind of like Zulilly except for house stuff. I was EXTREMELY impressed with the quality. It's a really nice rug...that is now covered in little spots of stain...but still, high quality.
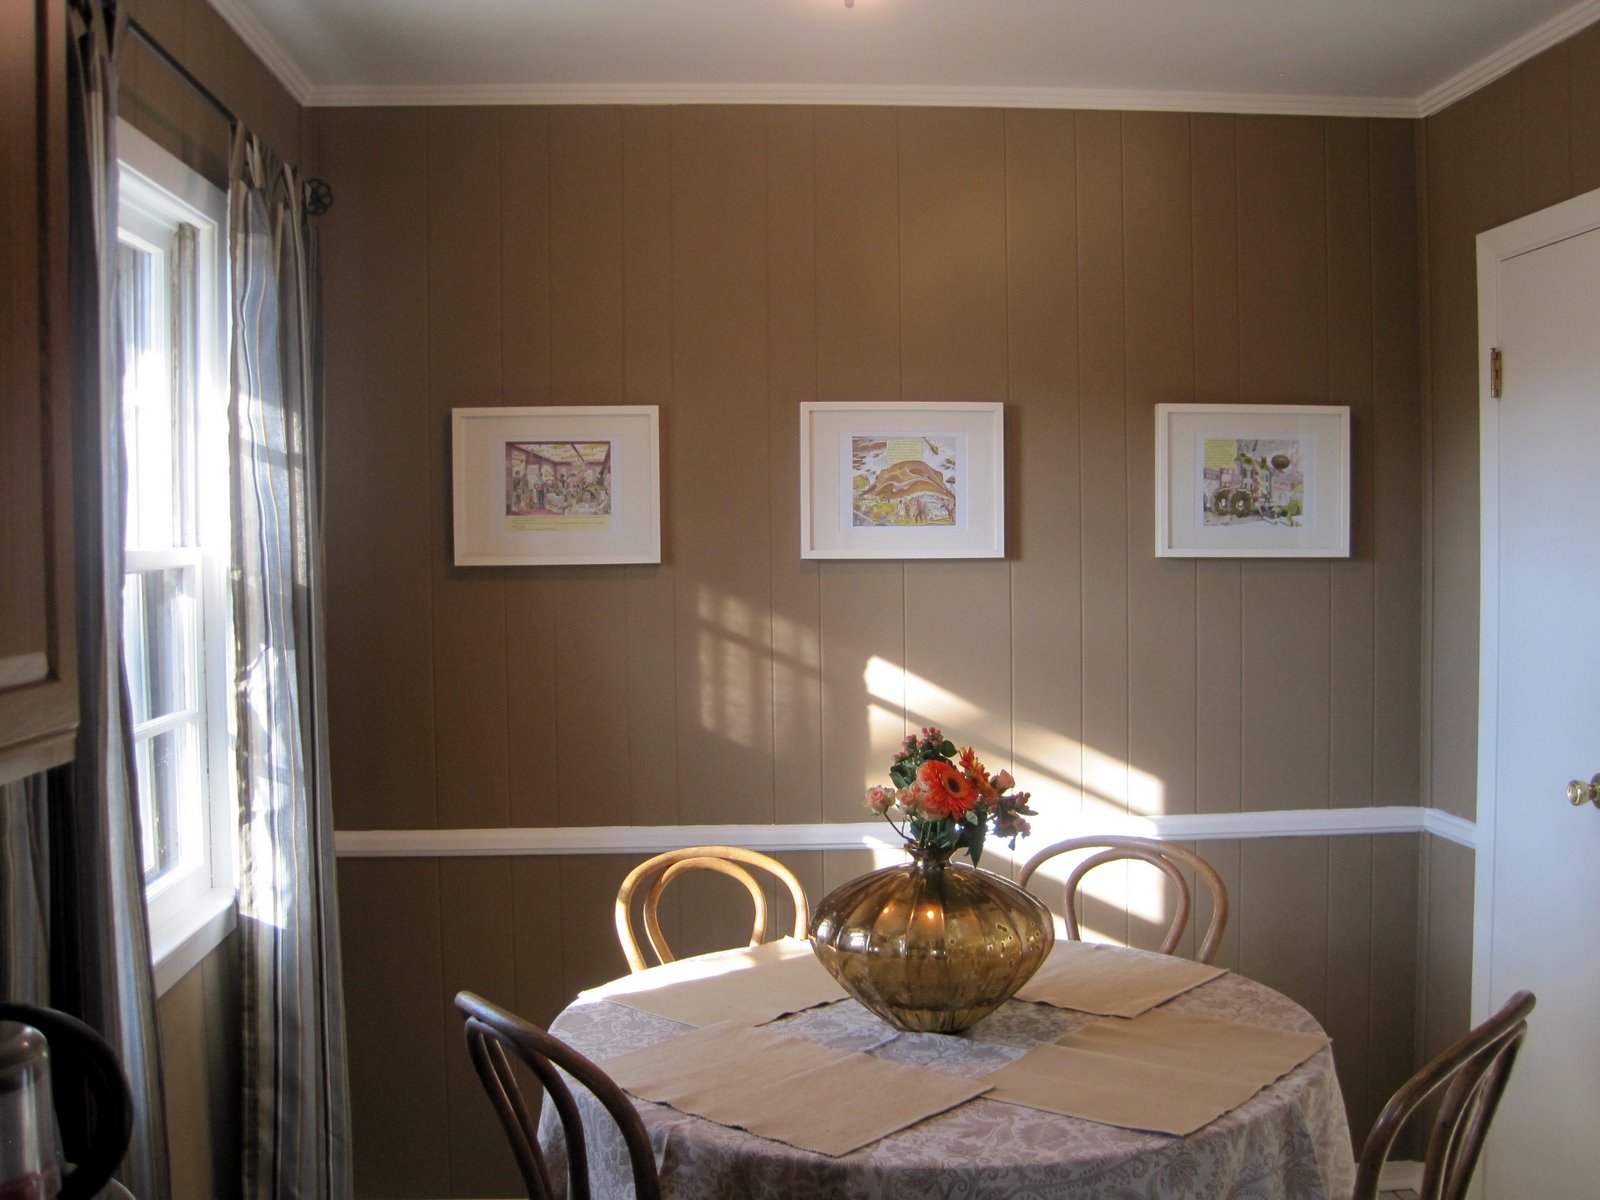
My Cloudy With A Chance of Meatballs pictures have been in every one of our kitchens since our first apartment in Philadelphia. The frames got a little spray paint face lift, and I took the prints to Kinko's and had them blown up to fit the frames a little better. It only cost $1.60.
Yes, I have Scotch Guarded everything, and the covers come off and are machine washable. Thank you for asking. I will mention that when I was making the covers, I slipped one on to check the fit, and Lila climbed on top of it, stood up, and peed on it. I was so pissed. No pun intended.
Not too much has changed with the pantry that I hate.
I added a chalkboard to the inside of the door.
And I repapered the shelves because I think the old brown paper came with the house. Like in 1957.
It's already been so nice to have a place to sit in the kitchen. Lila likes walking around on the benches (Free-Range Parent here) and reading my macaron and cupcake cookbooks. And so far she hasn't peed on it today, so one point for the breakfast nook.