Showing posts with label before and after. Show all posts

Friday, September 12, 2014

Lila and Olive's Shared Room

Hooray! It's finally done! Well, not so much "done" as I'm just tired of doing anything in there.

When I was pregnant with Lila, we painted this room green (Koi Pond by Sherwin Williams) in hopes that it would stay a gender neutral nursery. (The original before and after post is here.)  The color served us well starting originally with Lila, and then Little Guy, and then both Lila and Little Sister, and then just Olive, and now both Olive and Lila.


We're lucky to have a house that has three fairly large bedrooms, so I tried to split up the space into a few smaller spaces.  Here's the girls' little hand me down kitchen from the girls I used to babysit.


The dish towel was one of Johnny's grandma's, and the tiny little rug was supposed to be a giant rug that I was latch-hooking out of jersey sheets.  This tiny rug is as far as I got.


The bunk beds are the biggest addition to the room.  We bought beds that could come apart and be used as two twin beds, which came in handy when we had both Lila and Little Sister sleeping in here.  Now that we bunked the beds, Lila loves to climb the ladder and tell everyone that you "just need a yiddle courage!"


The duvets I made myself with fabric from Jo-Ann's.  The top one is backed with light pink, and the bottom one has dark pink.  The fabric at the end of the beds is left over from the valances.  Eventually they will be blankets...probably in about four years when I get around to it.


So no one in my family has supported these little poofs; we'll see if you jump on their bandwagon as well.  I saw this on Pinterest and tried to recreate it.  I like mine, but they are not as cute as the ones in the picture.  They must have used something other than tulle...ideas?  And I tried cutting them with curved edges, but they don't look any different.  I'm pretty sure Johnny still thinks I just threw tutus on the beds.


The chair was a Craigslist find back when we were pregnant with Lila, and the cute flower table was my sister's.  My aunt crocheted the gorgeous pink blanket for Olive.


I planned to do more tissue paper flowers, but that never happened either. Almost as cute as what my cousin did in her daughter's room.


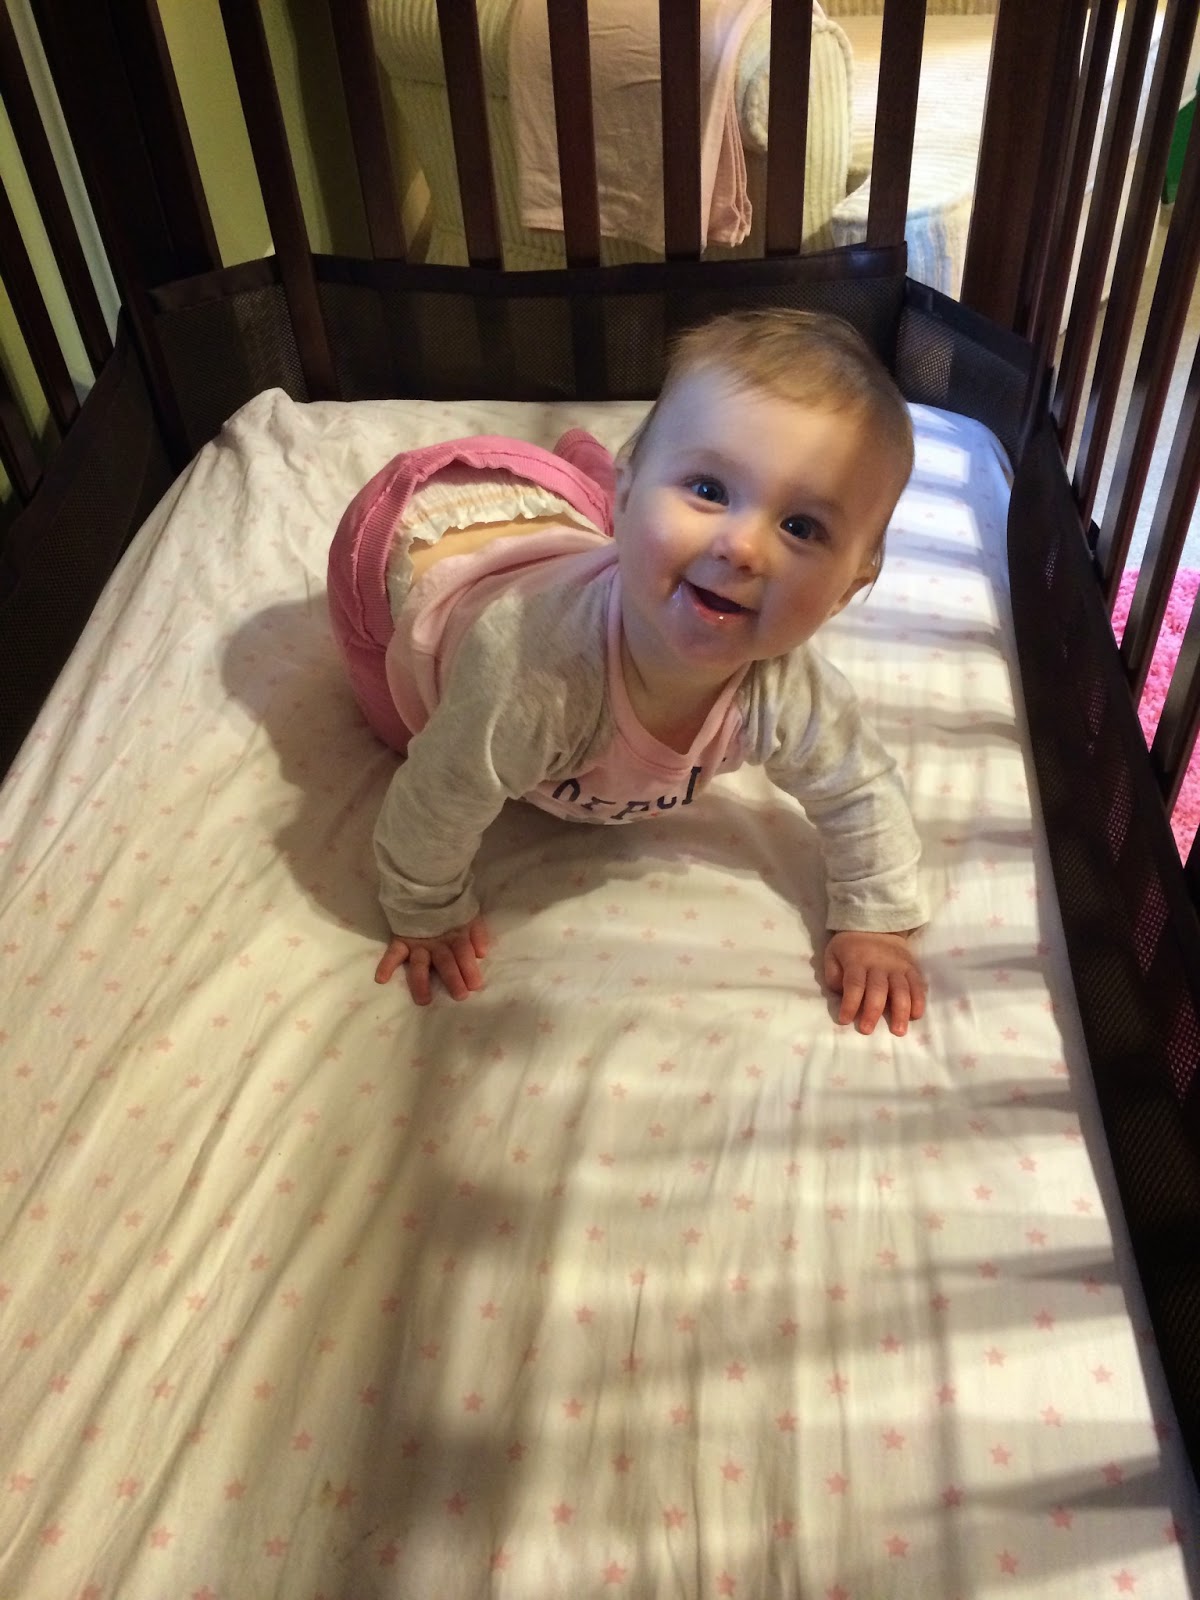
Still using the same teeth marked crib that was a fabulous Craigslist find.  Lila has figured out how to climb into it, so she likes to climb in and bounce Olive.


The Boo Boo likes it too.


The girls' dress up collection is quite extensive.  They're using my old dress up box that my grandmother got me as well as all my old dance recital costumes because I was such an amazing dancer.


We took the doors off of the closet so that we could fit a dresser in there, and I am still happy that we did it.  I'm not sure how long we will be able to fit both girls' clothes in there, though.


The girls also have all of my old Madame Alexander dolls on display.  I once caught Johnny explaining to Lila that the ones on the left were wearing such weird dresses because they were from another country.  They are Little Women dolls.


And here's my favorite part of the girls' room, their little book nook.  The only problem is that now Lila is starting to try to climb up the shelves to get to books she wants on the top.  I wrote in an older post how to do the gutter shelves.  It's super easy, and they hold a lot, but I think you could do something similar with baskets or Ikea shelves for a little bit cheaper.  Gutters ain't cheap, yo.


So in the end, I'm happy with how the girls' room turned out.  Johnny couldn't understand why I was doing a post on it because he said I just rearranged stuff.  But I'm pleased with my rearranging, and I hope that eventually we'll get both girls to actually sleep in there together without waking each other and subsequently us up.


Happy Weekend!

Tuesday, August 12, 2014

Kitchen Post Number 37

You may remember that our kitchen started out yellow, and then we painted it brown, and then I tried to paint it green but no one would let me, so then I painted it white.  I said I liked it white, but deep down inside...I HATE WHITE WALLS!  There, I said it.  I couldn't stand the white.  So one day I went down in the basement and got what was left of our living room paint and slapped that up on the walls of the kitchen.


Now we finally have a color I can live with.


And our red chairs finally have a home!


Wednesday, June 11, 2014

Breakfast Nook Redo

Our kitchen's breakfast nook has seen a lot of changes.  Sometimes it looks like this:


Other times it looks like this:


Or this.  It was just too weirdly shaped for anything to stick permanently.  So I got the idea that I would tear out the pantry and build two smaller pantries on each side of this wall with a bench in the middle.  Add a table, and presto, breakfast nook.  I had a contractor come in and a $3,000 estimate later, I decided that was not gonna happen.  He did give me the idea, though, of doing a corner bench with a table.  He quoted that one for about $2,000.  I said, "Thanks for the free idea!" and went about doing it myself.


So here's what I came up with...and as usual, forgive the mediocre photography...if that's even what you want to call it.  The corner bench is actually three benches from Ikea, two with drawers, one without.  Since the kitchen is on the smaller side, storage was very important when
I was looking around for banquette seating.  These drawers are great and huge, and when I get tired of this setup, they can be used elsewhere easily.


I made the cushions and pillows myself, following this tutorial.  As mentioned before, I was trying NOT to spend $3,000 on this project, so I was dragging my feet about buying the foam for these cushions, which would have cost at least $60 with a coupon.  I looked around online a bit for alternative ideas, and I came across this great idea to use one of those egg carton foam bed cushions.  I happened to have one lying around, so I cut it apart, stacked it up, and voila! Free cushions.


The light was a $25 find at the Habitat for Humanity ReStore.  I also got some drawer pulls when I was there for when I get around to working on the kitchen cabinets.  I made the shade in the background from some plastic blinds following this tutorial.  


I really wanted to have a dish towel on the front of the shade, and I found this one at Sur la Table for $8.


Bird.


I found the table for $65 using our neighborhood website.  It was originally that circa 1995 orangey oak that everybody has.  I decided to try my hand at restaining it, using this tutorial.  It worked pretty well except for a few things.  1. I decided to start staining the table in the middle of Typhoon June, so it took forever to dry.  2. It also took forever to dry because I did not do a good job of wiping off all the stain when I was staining it.  There are still a few goopy spots on the legs where the stain dripped and pooled together.  So I wouldn't recommend sitting on the legs in white pants for extended periods of time.  If you were planning on doing that.


The rug I got for $60 off of Joss & Main, which is kind of like Zulilly except for house stuff.  I was EXTREMELY impressed with the quality.  It's a really nice rug...that is now covered in little spots of stain...but still, high quality.


My Cloudy With A Chance of Meatballs pictures have been in every one of our kitchens since our first apartment in Philadelphia.  The frames got a little spray paint face lift, and I took the prints to Kinko's and had them blown up to fit the frames a little better.  It only cost $1.60.


Yes, I have Scotch Guarded everything, and the covers come off and are machine washable.  Thank you for asking.  I will mention that when I was making the covers, I slipped one on to check the fit, and Lila climbed on top of it, stood up, and peed on it.  I was so pissed.  No pun intended.


Not too much has changed with the pantry that I hate.


I added a chalkboard to the inside of the door.


And I repapered the shelves because I think the old brown paper came with the house.  Like in 1957.


It's already been so nice to have a place to sit in the kitchen.  Lila likes walking around on the benches (Free-Range Parent here) and reading my macaron and cupcake cookbooks.  And so far she hasn't peed on it today, so one point for the breakfast nook.


Monday, May 19, 2014

Gecko Green

When we lived in Philadelphia, we owned a cute little row house with an open floor plan.  All the walls had to be painted the same color, so I went out on a preppy limb and chose Gecko Green.  Put a sample on the wall? Please, why would we do that.  We just looked at the paint chip and then went out and bought three gallons of the stuff.  As Johnny is painting it, he's loudly grumbling that I better like it since we just spent $140 on the paint.  Oops.  We stubbornly kept it and wore sunglasses inside.  My students loved it.  They said it reminded them of the Rainforest Cafe.  Classy.


Annnnnnyway, fast forward to Kansas a few years later, and we are now getting ready to do a DIY redo of the kitchen.  I'm planning to paint the cabinets white in a few weeks and put in a breakfast nook, and I've decided that I'm just not happy with the current color.  Enter Johnny's heart attack, stage right.


HG-TV Magazine had a picture of a room with the exact same wood paneling as ours where the designer used Asparagus Green by Olympic.  It just looked so cute with the white trim and brown furniture.  So the green on the right is Asparagus by Olympic.  The green on the left is Asparagus by Valspar that the Home Depot guy accidentally gave me.  Geeze.


I'm thinking with the white trim and white cabinets it could look really cute, but I don't want people to come over and be blinded.  Am I crazy?


Monday, May 12, 2014

Lila's Basement Playroom

I was hesitant to post about this because it's not really that awesome and the colors really don't match and it's just a yucky basement, but this play area has ended up being really fun for Lila, so here ya go.

Now that the weather is nice and Lila isn't playing inside all day long, I finally finished tricking out our basement for the girls, complete with discarded rugs from throughout the house.


Lila's got her trampoline down here...


...as well as this sweet swing that I ordered from Ikea.  For those of you Kansans who are looking forward to Ikea coming our way, this swing required a hair dryer and a paper clip to put it together.  Can't beat that.


My grandpa made me this easel when I was little, so I'm enjoying watching Lila play with it. 


Lila's "pee-u-dur" has a prominent place in the basement so that she can send emails.


Marker station thanks to Diane Decker.


Hand-me-down slide from Meriahna and Sydney.  Notice my collection of diapers on the left from Olive's diaper shower.


Also notice my collection of crap that has been squished into a little corner.  As long as I never need any of it, we should be ok.


I am currently keeping the girls' toys in the flower pot we used for Audrey II in Little Shop of Horrors back in Philadelphia. Waste not want not.


Besides the swing, Lila's favorite thing in the basement is her dollhouse, also thanks to Diane Decker.  Notice "Miss Puzzle" (aka Rapunzel) is taking a bath.  Someone is usually using the toilet as well.


And you're welcome for waiting to take the pictures until it was dark and rainy outside.  

Wednesday, May 7, 2014

Rainbow Bathroom Before and After

The woman who lived here before us, bless her heart, (see now that I said "Bless her heart," I can say whatever I want about her), really liked color.  Remember our kitchen?  Mmm neither do I.  Well in keeping with the idea of "as much color as possible everywhere," our upstairs bathroom was decked out in teal tile and rainbow wallpaper.  I don't mind the tile too much, but I have been wanting to change the walls since the second we moved in.  Two children later, I finally got around to doing it.

Rainbow Bathroom Before:


Rainbow Bathroom After:


Before:
Note where I got a little excited one day and started tearing off the wallpaper.  But after our hellish experience with stripping wallpaper in the living room and the dining room, we decided to just paint over it.  I spackled and sanded the seams, and it was much easier than stripping.


After:


Before:


After:
The main difference here is that I closed the curtain so that you can't see all the stuff hiding in the bathtub.


Before:


After: 
The prints are copies of old rowing prints that Johnny's Uncle Bob gave us for Christmas before we were married.  It's a good thing we got married so that I could keep the whole set.


And thanks to Becca Stam for the carving? stamp? print? I'm not sure what to call it, but she made these for her roomies when we graduated from Wheaton.  It's hung in all five of our homes.  I don't think we're going to move again.


Normally I would never paint a wall white, but I figured with the fabulously teal tile, that was all I should do.  I'm happy with how it turned out.  Especially since it's actually painted two different shades of white because Sherwin Williams gave me Pure White instead of Snowbound and I didn't realize it until I was done.  So if you come over, just smile and say it looks nice. 


Besides the tile, one of the fun retro things in this bathroom is the light.  If you look closely at the ceiling, though, you will see that the paint is peeling off of it, and if you look really closely under the peeling paint you will see that the CEILING USED TO BE PAINTED TEAL.  I'm sorry? Yes, pre-wallpaper, the ceiling and walls and tile used to all be teal.  I suppose I should have appreciated the rainbow wallpaper.


I'm very glad this project is over.  This is the first room that I have painted completely by myself, and I was getting tired of sitting in there every night.